How to add a Signature in your Blog Post.
For Blogger Blogspot.
So I have been looking for a simple and working tutorial on how to auto-add a signature to my blog post. Before, I visited several site and tried their tutorial but none seems working to me. At last I found this very very easy tutorial from Her & Nicole blog.
I am going to show you how you can
have a signature to your blog post.

First, have your signature picture ready,
upload them where ever you want to get the picture or image url.
You can upload to a free image hosting like Photobucket, otherwise facebook is fine too. Get the image url copy to any text editor and add html img tag to it. See example below:
<img src="REPLACE THIS TEXT WITH YOUR IMAGE URL">
Add another tag around the image tag for if you want your
signature in the center, left/ right, just change the text alignment.
Copy them all. Should look something like this:
<div style="text-align: center;">
<img src="http://dl.glitter-graphics.net/pub/1210/yourimage.gif">
</div>
Done this part, and now to next!
Login to your blog account, and choose the blog
you want to add signature (if you have more than one blog).
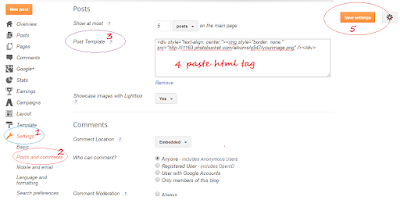
Go to "setting" and under setting, choose the "Posts and Comments"
and edit to "Post Template", paste the html tag you copied just now
save setting. Done!

That't it! Easy tutorial, no need to coding or modified your blog template. From now on, every time you create a new post,
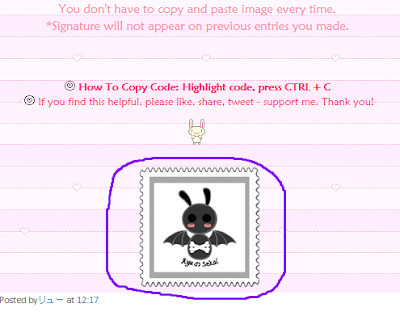
your image signature will be automatically added to the entry.
You don't have to copy and paste image every time.
*Signature will not appear on previous entries you made.
![]() How To Copy Code: Highlight code, press CTRL + C
How To Copy Code: Highlight code, press CTRL + C
![]() If you find this helpful, please like, share, tweet - support me. Thank you!
If you find this helpful, please like, share, tweet - support me. Thank you!


0 comments:
Post a Comment